3 Easy Steps (and 3 Butter Recipes!) for Hosting the Perfect Clam Night
“Hey ya’ll,” I texted to a group of twenty friends one Monday evening. “I have about 100 fresh clams in my refrigerator. Who wants to come over this Wednesday to eat some middlenecks?”
Two nights later, over 20 people poured into the side door of my home. As neighbors and friends flocked into my kitchen, I stood there baffled and excited. I turned to a bag of plump, meaty Cherrystone Aqua-Farms’ middleneck clams, and began to untie its knot.
I say it all the time, but a night with shellfish is tied to some of my strongest memories and happiest moments with friends. I feel completely in my element with a knife in one hand and a bivalve in the other, hovering over a counter soaked in seawater listening to someone tell me a story. Here I was, enjoying another raucous evening of hospitality, pleasantly surprised that it was clams for once—not just oysters—that brought all the cars to the yard.
Grilled middlnecks are hands-down, the perfect size for filling up your guests with hors d’oeuvres (especially when you have 100 of them!). Like stuffed baby bella mushrooms, a succulent middleneck clam is the perfect mouthful where you can eat half a dozen with some buttery bread and you’ve curbed an appetite!
To walk you through a successful night of entertaining with clams, here are three easy ways to make the evening a hit for you and your friends.
1. Prepare your buttery toppings in advance.
If you’re planning to grill clams, I highly recommend preparing any buttery toppings a few hours in advance so you can cool them in the fridge before you cook. Below, I’ve outlined three delicious butter toppings I used for my clam night. If you’re mixing ingredients into your butter, be sure to slightly soften the butter, make your mix, cover it, and put it back in the fridge to cool. Chilled butter cools the fats and gives you better control in apportioning it onto the clams.

Prep your butter a few hours in advance of use so you can chill them in the refrigerator.
2. Keep your clams stored in the fridge until you’re ready to shuck.
Thanks to Cherrystone Aqua-Farms’ state of the art wet storage system, their middlenecks arrive pre-cleaned, grit-free, and ready to go. While it’s always a good idea to give them a quick rinse under the faucet, this saves you the hassle of purging and scrubbing the clams prior to shucking. To increase the shelf-life of your clams, keep them in a breathable bag (the mesh bag they came in works great), and put them in a tin bowl with a wet tea towel on top. The wet towel will keep them from drying out and you’ll be ready to shuck as soon as your guests arrive.
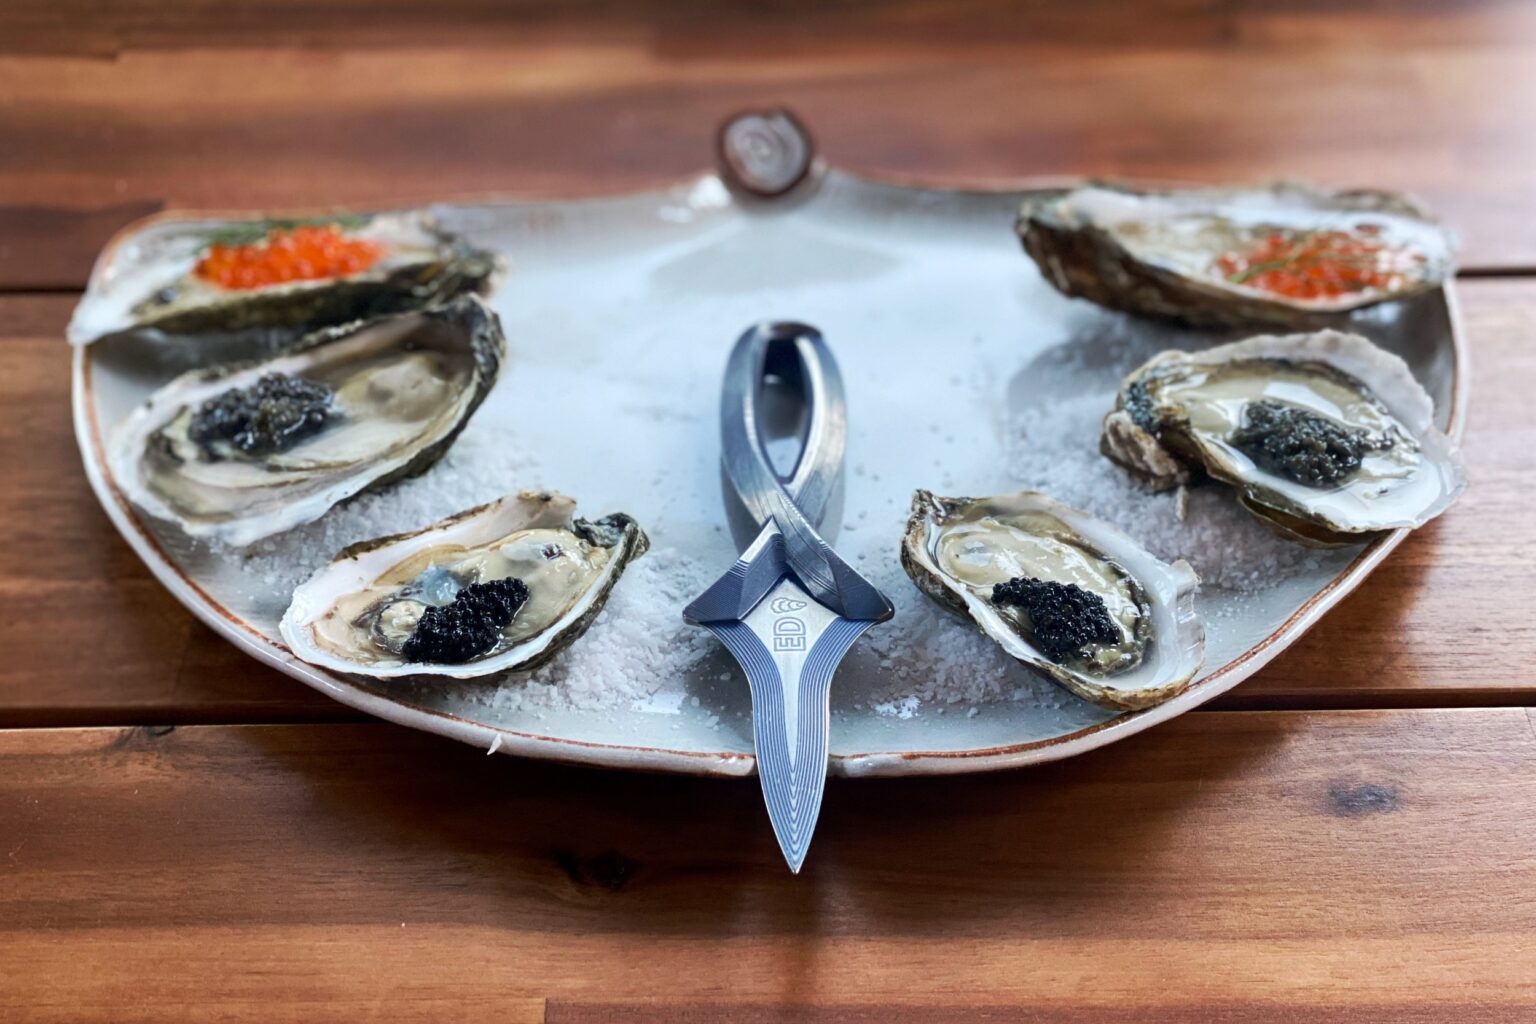
Quick note on shucking! If you don’t already know, shucking a clam is slightly different to an oyster. Most oyster shuckers today will approach an oyster from the hinge but with clams, you’ll need to apply pressure to the edge of the bill to open them up. A Dexter Russell could do the job, but if you have the opportunity to purchase a clam knife, you’ll have a much better go with less damage to the clam. Once you’ve pried open the clam’s shell, do a 180 degree scoop inside the top shell to release the adductor muscle, but keep the bottom intact for grilling to preserve the firmness of the clam meat. It’s easily detachable after grilling with a cocktail fork (that is, if you want to keep it classy. I normally bite the clam right off the shell so I’m getting all the butter!).

When should you shuck? In front of your friends, of course! It’s conversational and part of the presentation, so don’t feel the need to shuck the clams in advance. Keep it as fresh as possible, challenge someone to learn the skill, and make it entertaining.
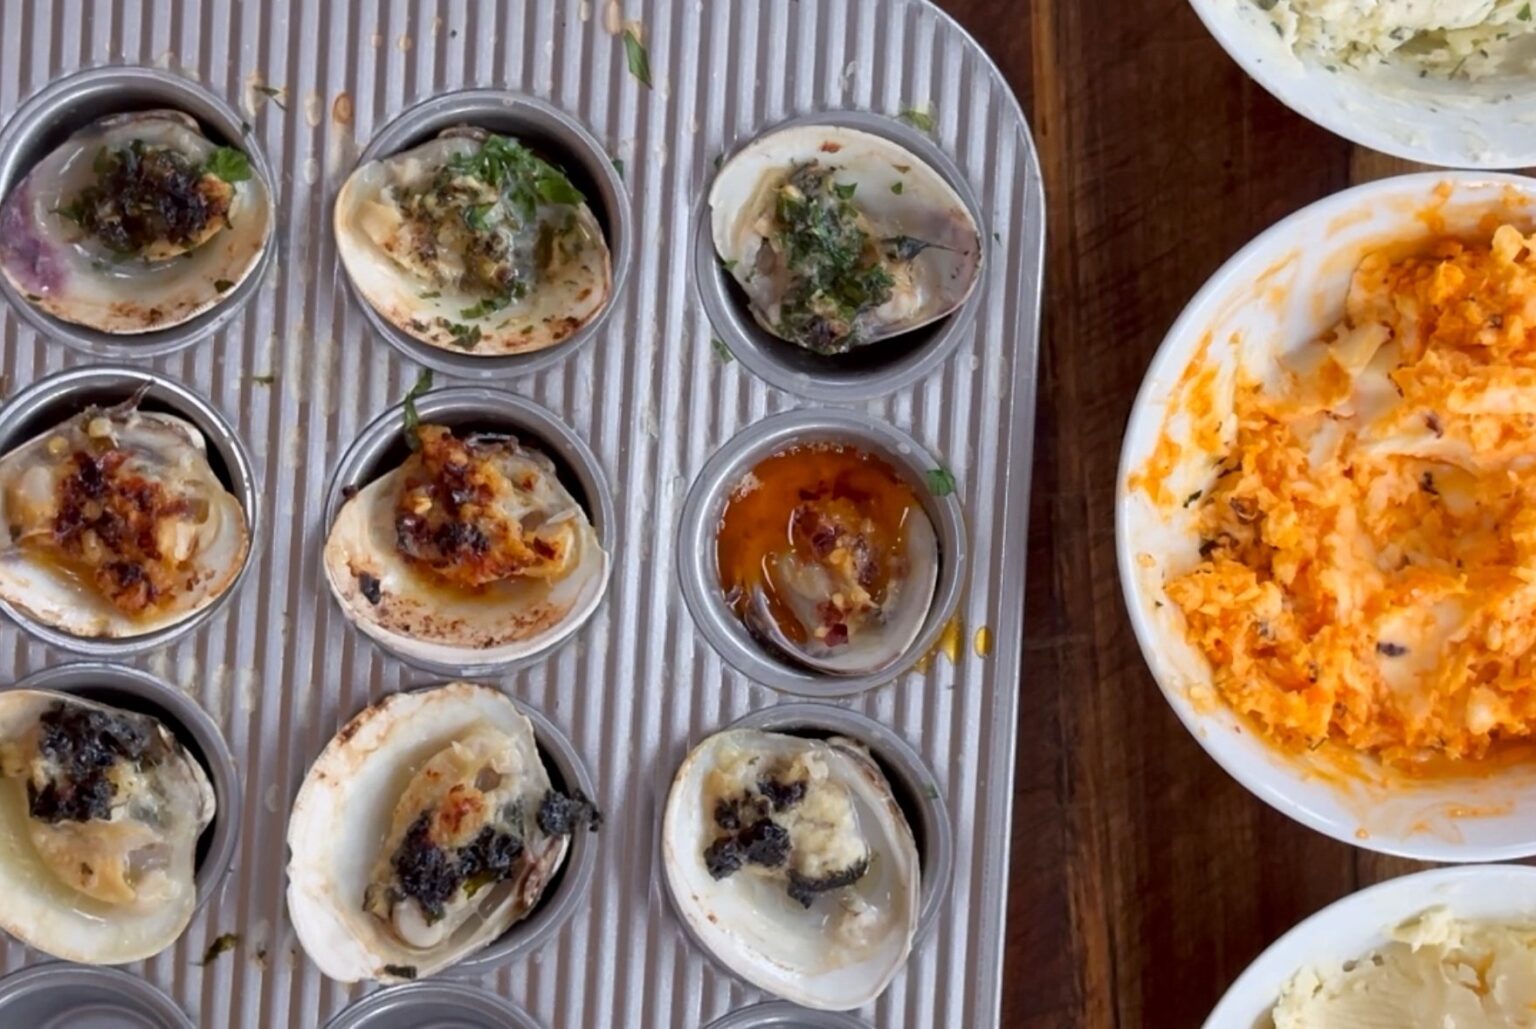
3. Use a mini muffin tin!
I am a Vermonter so I’m obsessed with King Arthur’s mini muffin pans for cooking my clams. They hold the clams perfectly upright and the cups will catch ALL the delicious butter that drips down from the clam shell (preserving it for dipping later with crusty bread)! I have two of the muffin tins so I can always be alternating one on the counter and one in the oven while I’m entertaining.

My favorite mini muffin tin to use for clams, made by King Arthur.
With your oven on broil, your clams will only need about 5-7 minutes before they’re ready, which keeps the snacks coming quickly. You’ll know they’re ready when the butter begins bubbling and you see a slight browning around the edges of the clam shells.
After four rounds of clams and three baguettes later, bellies were full and conversation amplified, fueled by wine and a round of Old Fashioneds. You can’t leave my house without a little bourbon for a night cap! I challenge you to spoiling your friends with a buttery, garlicky, and spicy clam evening that is sure to keep your dinner parties the talk of the town.

Throw them in the over for 5-7 minutes, or until bubbly and edges slightly browned.
THREE BUTTER RECIPES (each covering at least two dozen clams)
1. The Classic Herbs de Provence Butter
-1 stick of unsalted butter, softened
– two cloves of garlic, minced
– 1.5 tbspns of Herbs de Provence seasoning
– a few pinches of salt to taste
– freshly chopped parsely for garnish
2. The Chili Crisp Butter
-1 stick of unsalted butter, softened
– two cloves of garlic, minced
– 2 tbspns chili crisp oil (throw in more if desired!)
– a few pinches of salt to taste
– chili flakes for garnish
3. The Karashi Hot Mustard Butter
-1 stick of unsalted butter, softened
– two cloves of garlic, minced
– 1/2 tube of Japanese Karashi Mustard (22 grams/.75 oz)
– chopped dried seaweed for garnish
Directions:
Combine all ingredients for your butter of choice (except for the garnishes) into a bowl. Mix ingredients evenly throughout the butter, then cover the bowl and chill in the refrigerator for 3 hours. When you’re ready to cook, heat the oven using the broil setting and shuck your clams so that they are on the half shell, sitting face-up in the mini muffin tin. Remove the bowl of chilled butter from the refrigerator and put a spoonful of the butter on top of each raw clam. Sprinkle the butter’s corresponding garnish on top. Once all the clams are dressed, place the tin into the oven for 5-7 minutes, or until bubbling and browning on the edges. Remove from the oven and let the clams cool for about 5 minutes until they are safe to the touch. Slurp them back, discard the shell, and grab a crusty piece of bread. Dip the bread into the melted butter and enjoy the tasty aftermath!